
Photoshop Frame Animation - Background Graphics
In this Illustrator tutorial, we will create the background graphics for our animation. The background graphic will be an 1080 by 1080 pixel square containing horizontal stripes and the second graphic will contain stars splatter over the canvas. We are using the 1080 by 1080 pixel size for our animation because it is a common size for social media, such as Instagram®. However, you can use a different image size, depending on the purpose of your project. I am creating the graphics in Illustrator® but you can use Photoshop® or another graphics program.
View Animation
Open Illustrator and start with a 1080 x 1080 pixel canvas size. We will be drawing horizontal panels of different colors. The color scheme is from coolors.com.
Index - Photoshop Frame Animation
© 2024 Adobe Systems Incorporated. All rights reserved. Adobe® product screen shot(s) reprinted with permission from Adobe Systems Incorporated. Adobe, Photoshop, Photoshop Album, Photoshop Elements, Illustrator, InDesign, GoLive, Acrobat, Cue, Premiere Pro, Premiere Elements, Bridge, After Effects, InCopy, Dreamweaver, Flash, ActionScript, Fireworks, Contribute, Captivate, Flash Catalyst and Flash Paper is/are either [a] registered trademark[s] or a trademark[s] of Adobe Systems Incorporated in the United States and/or other countries.
View Animation
Open Illustrator and start with a 1080 x 1080 pixel canvas size. We will be drawing horizontal panels of different colors. The color scheme is from coolors.com.
- Open Illustrator and click the New File button on the left.
- In the Preset Details section on the right, set the following values and click Create (see screenshot).
- On the empty canvas, draw the first panel that should be 1080 pixels wide and 100 pixels high. Set the Stroke to null and the Fill color to d8e2dc (see screenshot).
- Select the panel and hold down the Option key. Drag to duplicate the panel and place it above the first panel. Set the Fill color to fec5bb.
- Repeat the previous step for eight more panels, setting the Stroke to Null and the Fill colors to the following.
- For each panel, select the panel and set the X value to zero in the Properties panel. This will place the panels at the left edge of the canvas.
- Select all ten panels together. Open the Align panel and click the Vertically Distribute Bottom option, which will distribute the panels evenly from the bottom panel upward (see screenshot).
- All layers should be inside the top layer (the group layer). Rename this layer background.
- Click File - Save and save the file in the default .ai format. Name the file background.
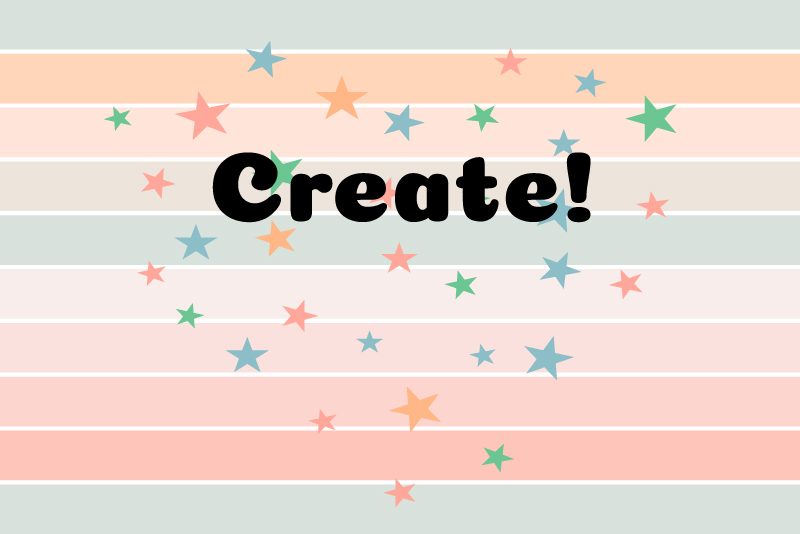
- With the Star shape tool, draw several stars, of varying sizes, over the canvas.
- For each star, set the Stroke to Null and the Fill to one of the colors below.
- Save the file as stars and in the default .ai format.
Width: 1080 pixels
Height: 1080 pixels
Portrait Orientation
Artboards: 1
Bleed: zero
Color Mode: RGB Color
Raster Effects: Screen 72 ppi
Preview Mode: Default
Panel 3 - fcd5ce
Panel 4 - fae1dd
Panel 5 - f8edeb
Panel 6 - d8e2dc
Panel 7 - ede4db
Panel 8 - ffe5d9
Panel 9 - ffd6ba
Panel 10 - d8e2dc
We need to spread the ten panels evenly vertically over the canvas.
The top and bottom panels should be at the top and bottom of the canvas.
You should have a thin empty space between each panel.
Now we will create the stars graphic. We will draw several stars on a transparent background.
Start another new document that is 1080 x 1080 pixels.
ffa79a
6bc692
8cbec7
When you are finished, name the group layer to stars (see screenshot).
Index - Photoshop Frame Animation
© 2024 Adobe Systems Incorporated. All rights reserved. Adobe® product screen shot(s) reprinted with permission from Adobe Systems Incorporated. Adobe, Photoshop, Photoshop Album, Photoshop Elements, Illustrator, InDesign, GoLive, Acrobat, Cue, Premiere Pro, Premiere Elements, Bridge, After Effects, InCopy, Dreamweaver, Flash, ActionScript, Fireworks, Contribute, Captivate, Flash Catalyst and Flash Paper is/are either [a] registered trademark[s] or a trademark[s] of Adobe Systems Incorporated in the United States and/or other countries.

Related Articles
Editor's Picks Articles
Top Ten Articles
Previous Features
Site Map
Content copyright © 2023 by Diane Cipollo. All rights reserved.
This content was written by Diane Cipollo. If you wish to use this content in any manner, you need written permission. Contact Diane Cipollo for details.


